
DIY Crafts for Kids: Fun, Creative, and Easy Projects
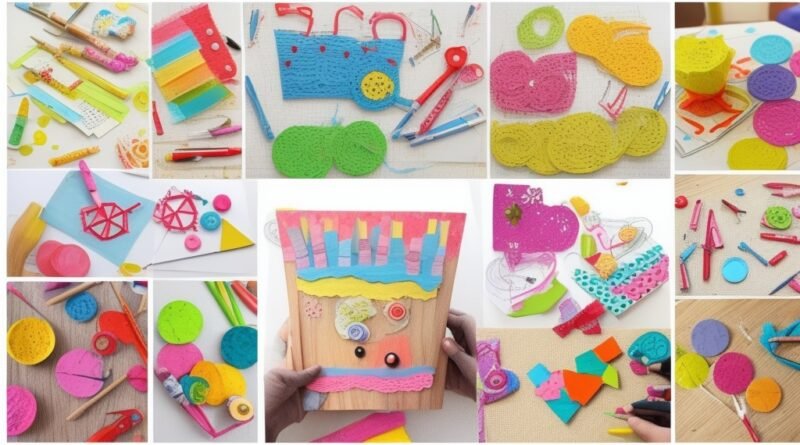
DIY Crafts for Kids Engaging kids in do-it-yourself (DIY) crafts is a perfect way to spark their creativity, encourage problem-solving, and reduce screen time. Crafting not only improves fine motor skills but also fosters emotional expression and bonding time for families. Whether you’re a parent, teacher, or caregiver, these DIY crafts are designed to be easy, budget-friendly, and entertaining for kids of all ages.
This guide features a wide variety of craft ideas for kids in the United States, keeping in mind popular materials and themes. From rainy-day activities to holiday-inspired crafts, there’s something here for everyone.
Why Choose DIY Crafts for Kids?
DIY crafts are more than just fun; they offer numerous benefits:
- Skill Development: Enhances fine motor skills, hand-eye coordination, and problem-solving abilities.
- Creative Expression: Provides kids with an outlet to express their emotions and individuality.
- Family Bonding: Encourages quality time spent together.
- Eco-Friendly: Teaches the importance of reusing and recycling materials.
- Educational: Many crafts integrate basic math, science, and artistic principles.
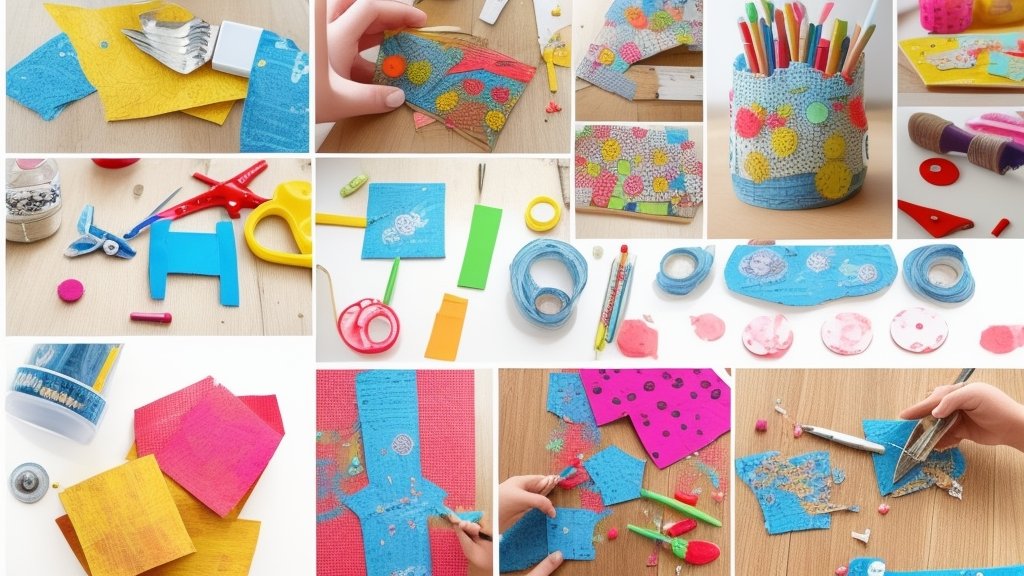
Essential Supplies for DIY Crafts
Before starting, ensure you have these basic supplies:
- Construction paper
- Scissors (child-safe)
- Non-toxic glue or glue sticks
- Markers, crayons, and colored pencils
- Craft foam
- Washable paints
- Popsicle sticks
- Pipe cleaners
- Beads and buttons
- Yarn and ribbons
- Recycled materials (toilet paper rolls, cereal boxes, etc.)
10 Unique DIY Craft Ideas for Kids
1. Paper Plate Animals
Age Group: 3–6 years
Supplies: Paper plates, paint, markers, googly eyes, pipe cleaners, glue.
Instructions:
- Start by choosing an animal (e.g., lion, fish, or owl).
- Paint the paper plate to resemble the animal’s body.
- Use googly eyes, pipe cleaners, and construction paper to add features like ears, fins, or feathers.
- Allow the craft to dry before showcasing the artwork.
Why It’s Fun: Kids love creating their favorite animals and learning about them while crafting.
2. DIY Bird Feeders
Age Group: 7–10 years
Supplies: Pinecones, peanut butter, birdseed, string.
Instructions:
- Tie a string to the top of a pinecone.
- Spread peanut butter all over the pinecone.
- Roll it in birdseed until fully covered.
- Hang the feeder outside and observe the birds it attracts.
Why It’s Fun: This project connects kids with nature and teaches them about local wildlife.
3. Tissue Paper Suncatchers
Age Group: 4–8 years
Supplies: Clear contact paper, tissue paper, scissors.
Instructions:
- Cut the contact paper into desired shapes (hearts, stars, or flowers).
- Let kids tear tissue paper into small pieces and arrange them on the sticky side of the contact paper.
- Cover with another piece of contact paper and trim the edges.
- Hang the suncatchers on windows to catch the sunlight.
Why It’s Fun: Kids enjoy watching their colorful creations light up when placed in the sun.
4. DIY Friendship Bracelets
Age Group: 8+ years
Supplies: Embroidery floss, beads, safety pins.
Instructions:
- Cut several strands of embroidery floss to equal lengths.
- Pin them to a surface and braid or knot them into patterns.
- Add beads for decoration as you go.
- Tie off the ends and wear or gift the bracelet.
Why It’s Fun: This activity helps develop fine motor skills and is a great way to teach kids about friendship and sharing.
5. Recycled Bottle Planters
Age Group: 6–10 years
Supplies: Plastic bottles, scissors, paint, soil, small plants or seeds.
Instructions:
- Cut the plastic bottle in half and use the bottom half as a planter.
- Paint and decorate the bottle.
- Fill it with soil and plant seeds or small plants.
- Water the planter and watch the plants grow.
Why It’s Fun: Teaches kids about gardening and the importance of recycling.
6. Popsicle Stick Puppets
Age Group: 4–7 years
Supplies: Popsicle sticks, markers, felt, glue, googly eyes.
Instructions:
- Draw or cut out characters (animals, superheroes, etc.) from felt or construction paper.
- Attach them to popsicle sticks using glue.
- Add googly eyes and other decorations to personalize the puppets.
- Use the puppets for storytelling or a mini puppet show.
Why It’s Fun: Encourages imaginative play and storytelling skills.
7. Rainbow Paper Collage
Age Group: 5–8 years
Supplies: Colored paper, glue, scissors.
Instructions:
- Cut colored paper into strips, squares, or other shapes.
- Let kids arrange and glue the pieces onto a larger paper in the shape of a rainbow.
- Add cotton balls for clouds or glitter for extra sparkle.
Why It’s Fun: Helps kids learn about colors and develop spatial awareness.
8. No-Sew Sock Puppets
Age Group: 6–9 years
Supplies: Old socks, buttons, felt, glue.
Instructions:
- Take an old sock and decorate it with buttons for eyes and felt for the mouth.
- Add yarn for hair or other features like whiskers or ears.
- Use the puppet for storytelling or pretend play.
Why It’s Fun: A simple craft that transforms everyday items into a playful toy.
9. Handprint Art
Age Group: 3–6 years
Supplies: Washable paints, paper.
Instructions:
- Let kids dip their hands into paint and press them onto paper.
- Turn the handprints into creative designs (trees, animals, or flowers).
- Let the artwork dry and display it.
Why It’s Fun: A keepsake craft that parents and kids can cherish.
10. DIY Dreamcatchers
Age Group: 8+ years
Supplies: Paper plates, yarn, beads, feathers, hole puncher.
Instructions:
- Cut out the center of a paper plate.
- Punch holes around the edge and weave yarn through them.
- Decorate with beads and feathers to complete the dreamcatcher.
- Hang it above a bed for a decorative touch.
Why It’s Fun: Kids love the idea of creating something magical and personalizing it with their favorite colors.
Tips for Hosting DIY Craft Sessions
- Set Up a Dedicated Craft Area: Use a table or mat to contain the mess.
- Encourage Independence: Let kids make their own choices about colors and designs.
- Keep Safety in Mind: Use age-appropriate tools and supervise younger children.
- Incorporate Themes: Tailor crafts to seasons, holidays, or special events.
- Showcase Their Work: Create a gallery wall or display area for their crafts.
DIY Crafts for Special Occasions
- Valentine’s Day: Heart-shaped cards and crafts.
- Easter: Bunny and egg-themed decorations.
- Halloween: Spooky masks and lanterns.
- Christmas: Ornaments and festive garlands.
- Earth Day: Eco-friendly crafts using recycled materials.
Final Thoughts
DIY crafts are a fantastic way to nurture creativity, build essential skills, and create lasting memories. With these fun and simple ideas, kids can explore their imagination while learning valuable lessons about sustainability, teamwork, and artistic expression. Whether you’re looking to brighten up a rainy day or organize a weekend activity, these projects are sure to keep kids entertained and engaged.
Crafting is more than just an activity; it’s a gateway to creativity and joy. So grab your supplies, and let’s get crafting!
Paper Plate Animals: A Fun and Creative Craft for Kids (Ages 3–6)
Crafting is one of the best ways to engage kids aged 3–6, and creating paper plate animals is a fantastic project for young minds. This simple activity lets children express their creativity while developing fine motor skills, hand-eye coordination, and even a basic understanding of animals. Plus, it’s easy to execute and uses materials that are inexpensive and readily available.
Below is a step-by-step guide to help you execute this project effectively.
Materials Needed:
- Paper Plates: These serve as the base for the animal craft. Opt for sturdy plates that can hold paint and decorations.
- Paint: Non-toxic, washable paints in various colors (great for younger kids).
- Markers or Crayons: For details like patterns, whiskers, or fur.
- Googly Eyes: These add personality and a 3D effect to your animals.
- Pipe Cleaners: Useful for making tails, antennae, or whiskers.
- Construction Paper: For cutting out additional features like ears, beaks, fins, or wings.
- Glue: Child-safe glue sticks or liquid glue.
- Optional: Glitter, stickers, or feathers for extra embellishments.
Detailed Instructions:
1. Choose an Animal Theme
- Begin by selecting an animal to create. Some popular choices include a lion, fish, owl, or butterfly.
- Show children pictures or illustrations of the animal they’re making. This helps them visualize the shapes, colors, and features.
2. Prepare the Workspace
- Cover the crafting area with newspaper or a disposable tablecloth to make cleanup easy.
- Set up materials within easy reach to keep the activity organized.
3. Paint the Paper Plate
- Guide children to paint the paper plate to resemble the animal’s body. For example:
- Lion: Use yellow or orange paint.
- Fish: Choose bright colors like blue, red, or green.
- Owl: Use shades of brown, gray, or white.
- Let the paint dry completely before moving to the next step (this can take 15–30 minutes depending on the type of paint). Use a hairdryer on low heat for faster drying.
4. Create Animal Features
While the plate dries, work on the additional parts of the animal:
- Lion:
- Cut strips of orange and yellow construction paper to make the lion’s mane.
- Use pipe cleaners for whiskers.
- Fish:
- Cut out fins and a tail from construction paper.
- Add scales by drawing patterns with markers or gluing sequins.
- Owl:
- Cut large circles for eyes and triangles for the beak.
- Use feathers or paper for the wings.
5. Assemble the Animal
- Once the paint is dry, glue on the animal’s features:
- Attach googly eyes for a fun and lively look.
- Secure construction paper features like ears, fins, or wings.
- Add pipe cleaners for details like tails, antennae, or whiskers.
- For 3D effects, fold some parts slightly (e.g., bend the owl’s wings outward or curl the lion’s mane strips).
6. Add Final Touches
- Let the kids personalize their animals with glitter, stickers, or extra decorations.
- Write the child’s name and date on the back of the plate to create a memorable keepsake.
Tips for Execution
- Adapt to Skill Levels:
- Younger kids may need help cutting shapes or applying glue.
- Older kids can take on more responsibility, such as designing their animal features.
- Make It Educational:
- Teach kids fun facts about the animal they’re creating. For example, “Did you know lions live in groups called prides?”
- Use the craft as an opportunity to introduce concepts like habitats or diets.
- Work in Small Groups:
- If working with multiple children, divide them into small groups and assign tasks. This fosters teamwork while keeping the activity manageable.
- Showcase the Artwork:
- Once finished, display the animals in a “craft zoo” at home or in a classroom.
- Create a story around the animals and encourage kids to present their creations.
- Incorporate Themes:
- Align the animal choices with holidays or events (e.g., reindeer for Christmas, bunnies for Easter).
Why This Activity Is Fun and Beneficial
- Interactive Learning: Kids learn about animals while engaging in a creative process.
- Hands-On Creativity: Painting, cutting, and gluing allow kids to explore various artistic techniques.
- Confidence Boost: Completing the craft gives children a sense of accomplishment.
- Family Bonding: Parents and siblings can join in to make it a collaborative experience.
Examples of Animals and Variations
- Butterfly: Add symmetrical wings with patterns using glitter glue.
- Penguin: Paint the plate black and white, and add orange feet and a beak.
- Turtle: Create a shell pattern using green and brown paint, and add four legs.
- Peacock: Use colorful feathers and paint for the peacock’s tail.
Creating paper plate animals is an easy and enjoyable way to engage children in creative play. By customizing the craft to their interests and abilities, you can ensure a fun, educational, and memorable experience. So, gather your materials and let the kids bring their favorite animals to life!
Pingback: happy birthday wishes -